Random Thoughts (Aug ’19): Proto-Pasta, Alexa Gadgets, Dual Extruder 3D Printers

Sometimes you gotta spend more on 3D filament to Save More

Galactic Empire Metallic Purple HTPLA

I love Proto-Pasta’s filament. Yes, it costs more that what I was originally using (Inland filament), but it’s not too expensive (especially their Sparkly HTPLA line) and I find that I waste less time (and filament) on failed prints. The extra $10 I spend is well worth it…

Bonus – I can get it from my local Microcenter (10 mins away from my house)

Longing for a Dual Extrusion Printer

I love my Wanhao i3 plus 3D printer. So far, I’ve added Z braces, a new cooler, a new build plate, and a glass bed. My prints (for the most part) come out exactly how I expect. I’m planning to add a metal hot end and new extruder gear to start printing exotics…

That being said… there is one thing that the Wanhao will never give me (easily) – dual extraction/multi-modal printing. So, I’ve been thinking a lot about a Prusa MK3 or (gasp) an Ultimaker…. Maybe one of them will be my gift to myself at Christmas…

Amazon Gadgets, a game changer?

The Echo Wall Clock (an example of an Alexa Gadget)

Last month, Amazon quietly rolled out an updated Alexa Gadgets API. For those unaware, gadgets allow you to connect a smart device to an Amazon Echo. You can build smart clocks, toys, games, etc. – and have them interact with custom skills or “base” Alexa functionality (alarms, timers, wake word detection, etc.) So far, the API is limited, but this could be a game changer for the IoT/connect device landscape… if Amazon can move from Bluetooth classic to BLE…

https://developer.amazon.com/alexa/alexa-gadgets

Cool Contests:

There are a few contests that I’m considering entering

  1. Instructables Indoor Lighting Contests – I think I have a good idea… if I can find the time
  2. Either the Hackster or Element14 Avnet Azure Sphere contests: I have no good ideas for either of these contests (yet)… but I’m excited about working with a hardware chip that’s customized to work with one of the major cloud providers

https://www.instructables.com/contest/lighting2019/

https://www.hackster.io/contests/SecureEverything

https://www.element14.com/community/docs/DOC-92683/l/sensing-the-world-challenge

… more thoughts next month!

dbj

Hacking in China

A recap of my week-long trip to China to participate in the Co-Making The Future contest.

Darian Johnson in China

I recently traveled to Beijing to participate in the Co-Making the Future: China-US Young Maker Competition. This is a recap of my experiences in the competition.

Being Selected as a Semi-Finalist

The US portion of the contest was conducted as an online hackathon by Hackster, with hardware and prizes sponsored by Intel. I decided to build a smart composting system, and was fortunate enough to be selected as a semi-finalist. I was given the ability to build a small team and travel to China (all-expenses paid) to participate in the next round of the competition. I called up my good friend from college, Michael Bradford (who is also a maker/inventor), and off we went!

Prepping for the Trip

For anyone participating in next year’s competition  – MAKE SURE YOUR PASSPORT IS UP TO DATE!!! My passport expired and I had to expedite my renewal.

In addition:

  • I had eye masks, ear plugs, and noise cancelling headphones for the trip
  • I made sure I added international coverage to my cell phone plan
  • I brought a ton on snacks for the trip
  • I brought a pillow and blanket, though the airline provided them as well.
My week in China

Sunday – Monday – I left Dallas at 11:45AM on Sunday and arrived Monday at 3:00PM Beijing time, so I spent the evening just relaxing and getting acclimated to Beijing. The hotel was nice; the rooms were a little small and we had to share rooms (2 to a room)… but it was free, so I can’t really complain. I got a chance to meet most of the other US competitors, then had a nice quiet team dinner.

My company’s billboard greeted my in the Beijing airport!!!

The view from my hotel room

Tuesday – The US participants were invited to take a tour of the Great Wall. Reading about the Great Wall does not do it justice. It is gigantic and amazing.

Darian Johnson and Mike Bradford on the Great Wall

Tuesday PM – Wednesday – Hacking the night away

Tuesday night was the kick off of the 24 hour hackathon. I had never participated in an on-location/in-person hackathon, so I was looking forward to the experience. It was an amazing. I was overwhelmed by the number of really great teams and good ideas. Even though it was a competition, there was a real spirit of working-together and collaboration.

And the GOODIES…. we had drinks and snacks… power tools…. soldering irons and 3D printers… basically anything a maker could need…

Well, ALMOST everything. Unfortunately one of my parts broke just as I was getting on the plane, and I didn’t have a chance replace it. That meant I spend a significant part of my time re-working my solution instead of improving it.

3D Printer Bay

The tools bay

Me attempting to solder my LEDs to my protoboard

Talking with other participants

Thursday Morning- Judging

9:00 AM was the start of judging. Luckily, my team’s projects was selected to go to the next round. I got some really good feedback about the product (which I’m incorporating into a second prototype).

The final product

Talking with one of the judges

Thursday Afternoon- Tienanmen Square 

After judging, my teammate and I visited Tienanmen Square. We took a lot of selfies/group pics with Chinese tourists. A LOT OF SELFIES. In fact, we had to take off running at one point because we were getting overwhelmed with requests for pictures.

Friday – Final Judging

The results of the competition were announced on Friday morning. One US team placed in 3rd!!!

Purdue Team with the US Ambassador to China

After judging, we took a quick trip to the US Embassy, then I spent the evening at a nice restaurant.

In Summary

It was a great trip. I’m grateful to Hackster and Intel for sponsoring the competition, and to our guides in China for their hospitality.

How to build your own Alexa voice activated IoT smart lamp for less than $35

Spending $200 on a smart lamp is not very smart when you can build one yourself with a simple and cost effective DIY project

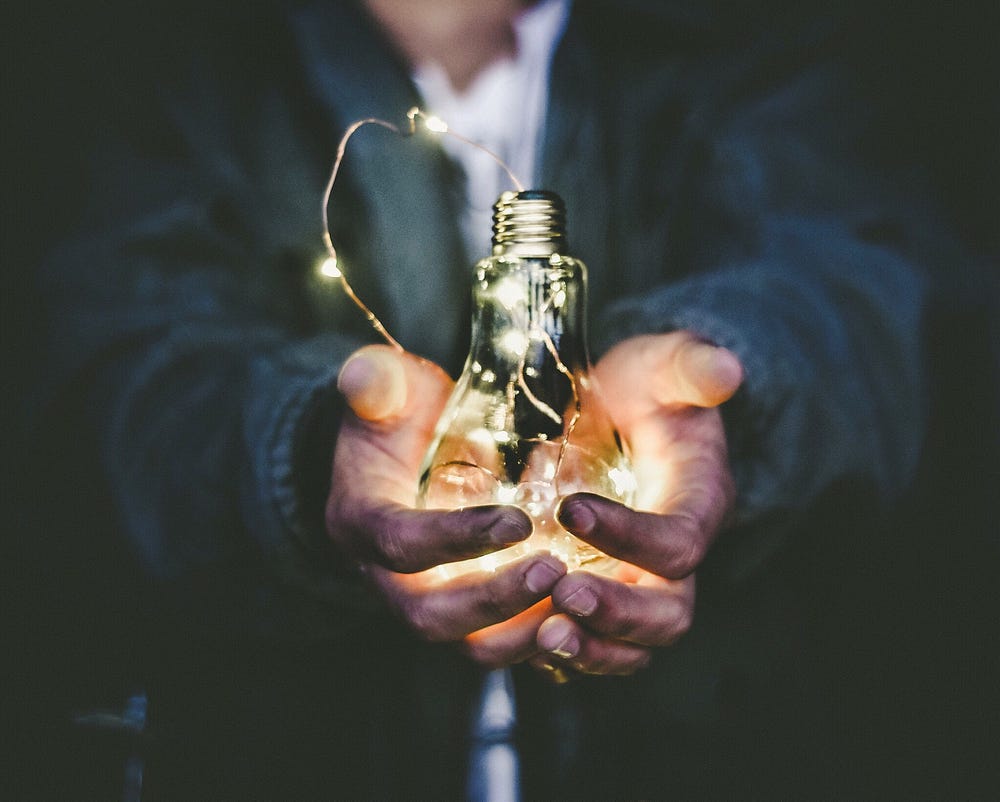
A major manufacturer recently announced a smart lamp that will setup you back about $200. While GE’s lamp is cool, neither my budget (nor my wife) supports a purchase of that size — so I set out to design and build a “smarter lamp” for the more budget conscious consumers.

In order to compete with GE, the design of my smart lamp needed to include voice activation by Alexa. Since my wife wanted the ability to control the lamp using a standard switch, the design also needed to be practical and functional.
To meet my needs, the smart lamp had account for state — regardless of whether a voice or a physical switch was used for power.

Read more on Medium

Getting the Most out of my Amazon Echo: Smart Lights

Smart lighting technologies – like the Lutron Caseta – make it easy to use Alexa for smart home functionality.

Over the last 3 months, I’ve received four new Amazon Alexa devices – one Echo Dot (from re:Invent) 1 and an Echo, a Dot, and a Tap from Amazon and Hackster for my winning entry in their API contest. That, plus the Echo I already owned, my wife’s fire tablet, my two Amazon Fire TVs, and my custom Mystic Mirror give me a total of 9 Alexa-enable devices in my home!!!

Three of my Amazon Alexa devices courtesy of Hackster and Amazon (with some of my favorite books)

With all those devices, it was natural for me to accelerate my adoption of the Alexa in the house, with a focus on smart lights.

I spent a few weeks researching options. In short: there are a lot of products out there. I knew that I wanted to control 3 “bays” of lights:

  1. Family room recessed lights (6) – BR40
  2. Kitchen recessed lights (4) – BR40
  3. Outside porch/front door lights (2) – standard A19

Given the number of lights, I felt that the most cost-effective solution was to go with smart switches. [Note: the added benefit of smart switches was that I wanted to control the lights by voice and wall switch, which a smart bulb would not let me do].

From there, I narrowed my choices to Z-wave switches (partnered with a Samsung SmartHub or Wink) or Lutron Caseta system. I liked the flexibility of Wink or SmartHub (it can support multiple technologies), but I ultimately went with the Caseta. I read multiple reviews about how great the Caseta system worked… and with a smart home skeptic in the house, I wanted to make sure that I implemented something that would be responsive and easy to use.

The Lutron Caseta dimmer (controlling the kitchen lights and the pico dimmer (for two-way control of the family room lights)

I’ve only had the system in two days, but so far, I’m beyond elated about my choice. Other systems might be slightly less expensive…. but this just WORKS. Plus, there are some added benefits:

  • I’ve added dimming functionality (which is a big deal at 2AM in the morning).
  • I’ve scheduled my porch lights to turn on at sunset and off at 11pm – so, even less work for me there.
  • I’m starting to win my wife over (in regards to using voice commands to control our home).

Fitness Gear Review: Rhone’s Silvertech No-Show Socks

Rhone’s no-show no-slip socks are worth every penny.

Rowing machine. Check

Deadlifts. Check

Sprints. Check

Burpees. Check

Pushing a sled. Double check

Simply put: these socks work. THEY. DO. NOT. SLIP.

I knew these were awesome within the first five minutes of working out in them. One of my usual warm-ups is a 3-4 minutes on the rowing machine. Without fail, my old no-show socks always slip off my heel. It’s an annoyance… which becomes a major hindrance when I’m putting in work on the weighted sleigh.

I went through my entire workout before realizing that I never had to stop to readjust my socks. They never slipped. Rhone has placed a small rubber (or maybe its silicone) band right above the heel that stops the socks from slipping.

On top of that, the socks are comfortable. They have some cushion (which helps on runs), but not so much bounce that my lifts are impacted. The socks also have silver woven into the threads – which supposedly help with smells.

In short, $14 may seem like a lot, but it’s totally worth it. I have four pairs, and plan to add more when their next sale comes around (where sometimes you can get 10-20% off, or a free sock with another purchase).